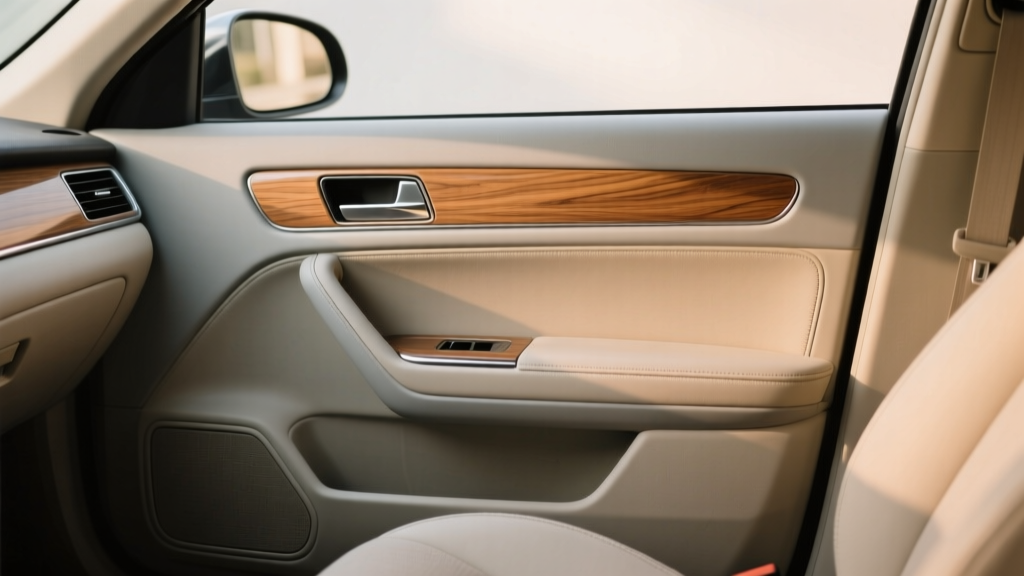
DIY Door Panel Refurbishment: Car Interior Mix (2026)
A tired door panel can make an otherwise clean car feel worn out fast. Sagging fabric, cracked vinyl, broken clips, and rattles don?t just look bad?they can ruin cabin comfort, let in extra road noise, and turn every drive into a reminder that the interior needs attention. The good news: door panel refurbishment and replacement is one of the most satisfying DIY interior projects because the results are immediately visible and the cost savings can be significant.
Whether you?re refreshing a daily driver, restoring an older vehicle, or upgrading materials for a more premium look, learning how to remove and rebuild a car door panel gives you control. You can fix loose trim, restore door card upholstery, replace broken mounts, and even add sound deadening while you?re in there. This guide walks you through the process step by step, with practical tips and real-world details that help you avoid the common pitfalls that crack panels, strip screws, or leave you with new rattles.
What You?re Working With: Door Panel Basics
Most modern door panels (often called ?door cards?) are made of a molded plastic or fiberboard backing with a decorative layer (vinyl, cloth, leatherette) and foam underneath. They attach to the metal door shell using:
- Plastic push clips around the perimeter
- Screws/bolts hidden behind trim caps, handles, or armrests
- Hooks or ledges along the top edge near the window
- Wiring connectors for switches, speakers, and ambient lighting
- Moisture barrier (plastic sheet) sealed to the door with butyl
Real-world example: Many Hondas and Toyotas use a ?lift up then pull out? style. German cars often have more screws and tighter clips, while trucks/SUVs may hide fasteners inside grab handles. The exact layout varies, but the workflow stays similar.
Refurbish or Replace? Choosing the Right Path
Refurbishment Makes Sense If?
- The panel backing is intact (not warped or crumbling)
- Only the fabric/vinyl is peeling, stained, or faded
- Most clip points are solid
- You want to match factory fit and keep OEM styling
Replacement Makes Sense If?
- The panel is cracked, heavily warped, or water damaged
- Multiple mounting tabs are broken off
- Airbag-equipped doors have damaged seams or trim structures
- A used OEM panel is available in better condition than yours
Quick cost reality: A door panel re-trim with quality adhesive and fabric can run $40?$120 per door DIY, depending on material. New OEM panels can be several hundred dollars each. Used panels from a salvage yard can be a smart middle ground?just inspect clip points and sun damage.
Tools and Supplies You?ll Want on Hand
Core Tools
- Trim removal tools (plastic pry tools reduce marring)
- Phillips and flat screwdrivers
- Socket set (commonly 8mm, 10mm)
- Torx drivers (T20/T25/T30 are common)
- Needle-nose pliers (for stubborn clips)
- Utility knife or sharp scissors (for upholstery)
Recommended Supplies (Refurbishment)
- High-strength spray adhesive rated for heat (3M Super 90 or 3M Headliner & Fabric Adhesive are popular)
- Foam (1/8"?1/4") if the original foam is degraded
- Upholstery fabric, vinyl, or leatherette
- Isopropyl alcohol and clean microfiber towels
- Butyl tape (to reseal the moisture barrier)
Recommended Supplies (Replacement/Repair)
- Replacement door panel clips (OEM-style preferred)
- Plastic epoxy or urethane repair (for broken tabs)
- Small washers (sometimes useful for reinforcing screw points)
- Sound deadening mat (optional upgrade)
Product Recommendations and Comparisons
Adhesives: What Actually Holds Up
- 3M Super 90: Strong hold, good for heavier vinyl and foam. Can be less forgiving?position carefully.
- 3M Headliner & Fabric Adhesive: Easier to work with for cloth and lighter fabrics, still heat resistant.
- Contact cement (brush-on): Excellent for edges and high-stress areas. Messier, but very durable when applied correctly.
Practical tip: Door panels bake in the sun. Always choose adhesives labeled for high temperature. ?Craft? spray adhesives tend to fail and cause sagging within weeks.
Clips: OEM vs. Universal
- OEM or OEM-style clips: Best fit, fewer rattles, correct retention force.
- Universal assortment kits: Handy in a pinch, but mismatched sizes can crack panel holes or sit loose.
Step-by-Step: Door Panel Removal (DIY Safe Method)
- Prep the workspace. Park on level ground, open windows (helps later), and protect paint with a towel along the door sill.
- Disconnect the battery (recommended). If your door has side airbags or you?ll unplug a lot of wiring, disconnect the negative terminal and wait 10?15 minutes.
- Locate hidden screws. Common spots:
- Behind small plastic caps in the pull handle
- Under the armrest pad
- Behind the interior door handle trim bezel
- Near the mirror sail panel
- Remove trim covers gently. Use a plastic trim tool to pop caps. Work slowly to avoid snapping tabs.
- Remove screws/bolts and keep them organized. Put hardware in labeled cups or baggies (?handle,? ?armrest,? ?lower?). Different lengths matter.
- Release perimeter clips. Start at the bottom corner. Slide the trim tool between the panel and door, find a clip, and pry near the clip location (not in the middle of a large span).
- Lift the panel upward. Many panels hook at the top edge. Once clips release, lift up and away from the window channel.
- Disconnect wiring and cables. Unplug window switch connectors, courtesy light, speaker connector. For mechanical door handle cables, rotate the cable end out of its carrier and unhook.
- Inspect the moisture barrier. If it?s intact, peel it back carefully. Don?t tear it?water management matters.
Real-world tip: If a clip won?t release, don?t force it harder. Move a few inches and try again. Often you?re prying between clips rather than at the clip.
Step-by-Step: Refurbishing the Door Panel (Fabric/Vinyl Repair)
1) Evaluate the Panel Backing
- Check for cracks near screw holes and clip mounts
- Look for water damage (swelling, soft spots) on fiberboard panels
- Test-fit clips?if holes are stretched, plan repairs or reinforcements
2) Remove Old Upholstery Material
- Peel back fabric/vinyl slowly. Use gentle heat (hair dryer) if the adhesive is stubborn.
- Scrape off old foam and glue residue. A plastic scraper helps avoid gouging.
- Clean the surface with isopropyl alcohol to remove dust and oils.
3) Repair Broken Tabs and Mount Points
- For small cracks: use plastic epoxy and clamp until cured.
- For missing tabs: rebuild with epoxy and a small reinforcement (mesh or a thin plastic strip).
- For weak screw points: a washer can spread load and prevent pull-through.
Practical detail: Let repairs cure fully. Rushing this step leads to tabs breaking again when you reinstall clips.
4) Add New Foam (Optional but Often Worth It)
- Cut foam slightly oversized.
- Spray adhesive on both surfaces (panel and foam) if using contact-style spray.
- Wait the recommended tack time, then lay foam from one edge to the other to avoid bubbles.
5) Apply New Fabric or Vinyl
- Lay the material over the panel to confirm coverage, leaving 1?2 inches extra on all sides.
- Spray adhesive in sections rather than the entire panel at once.
- Start from the center and smooth outward with your hands or a soft roller.
- For contours and recesses, use gentle heat to help vinyl conform without creasing.
- Wrap edges and secure on the back side. Trim excess carefully.
Pro-level finish tip: On high-touch areas like armrests, use extra adhesive on edges and corners. Those are the first places to lift in hot weather.
Step-by-Step: Replacing the Door Panel (OEM/Used/Aftermarket)
- Compare the new panel to the old one. Verify clip locations, wiring openings, and handle cutouts match.
- Transfer components. You may need to swap:
- Window switch assembly
- Speaker and speaker grille
- Reflector/courtesy light
- Door lock pin bezel
- Weatherstrip edge pieces
- Install new clips. Replace any distorted or brittle clips. Push them fully into the panel?s clip receivers.
- Test electrical connectors before final assembly. Temporarily connect the switch and confirm windows/locks work (battery connected briefly if needed).
- Reinstall using the correct sequence. Hook the top edge first, align the panel, then press clips in around the perimeter, then reinstall screws and trim caps.
Optional Upgrades While the Door Panel Is Off
- Sound deadening: Apply deadening mat to the outer door skin (through access holes) and inner skin to reduce resonance. Don?t block drain holes.
- Speaker upgrade: Add foam speaker rings and ensure the moisture barrier still directs water away from the speaker.
- Rattle prevention: Use felt tape on contact points (wiring harness clips, edges near trim) to eliminate squeaks.
Common Mistakes to Avoid
- Forgetting a hidden screw: Pulling a panel that still has a screw installed is a fast way to crack the door card.
- Prying in the wrong spot: Always pry near a clip, not in the middle of a flexible span.
- Reusing brittle clips: Old clips cause loose fitment and rattles. New clips are cheap insurance.
- Skipping moisture barrier sealing: Water inside doors is normal. Water inside the cabin is not. Reseal with butyl tape.
- Using low-temp adhesive: Interior heat cycles will undo weak glue, especially on sun-facing doors.
- Overheating vinyl: Too much heat can stretch or gloss the surface permanently.
Final Checks: Make Sure It Feels Factory
- Confirm the panel sits flush along the top window line
- Check every clip location by pressing around the perimeter
- Verify door handle operation and lock function
- Test window switch, mirror control, and courtesy lights
- Listen for rattles on a short drive over uneven pavement
Rattle-hunting tip: If you hear a buzz at certain RPMs or road textures, it?s often a loose clip, a wiring connector tapping metal, or a missing foam pad behind the panel. Felt tape fixes many of these quickly.
FAQ: DIY Door Panel Refurbishment and Replacement
How long does it take to refurbish a door panel?
Plan on 2?4 hours for your first door if you?re reupholstering, mostly due to cleaning and adhesive curing time. Simple clip/screw repairs or swapping to a replacement panel can be 45?90 minutes.
Can I wash and reuse the original fabric?
Sometimes, but it?s rarely worth it if the foam backing is crumbling (common with older cloth inserts). If the fabric is good and the foam is intact, you can reglue it. If the foam turns to dust, replace fabric and foam for a lasting repair.
Do I need to replace the moisture barrier?
If it?s torn or missing, yes. You can reuse the original plastic sheet if it?s intact, but reseal it with butyl tape so water drains correctly inside the door rather than into the cabin.
What adhesive is best for vinyl door panel inserts?
A high-strength, high-temperature adhesive like 3M Super 90 works well for vinyl, especially on curved areas. For edges and corners, adding brush-on contact cement can improve long-term hold.
My door panel clips keep breaking?what causes that?
Usually one of three things: prying away from the clip location, pulling the panel without removing all screws, or using the wrong clip size/type. OEM-style replacement clips and a trim tool positioned near each clip make a big difference.
Is it safe to DIY a door panel with a side airbag?
Yes, but treat it seriously. Disconnect the battery, wait before unplugging connectors, don?t probe airbag wiring with a test light, and ensure the airbag seam and trim are not obstructed. If your panel itself is damaged near the airbag area, replacement with the correct OEM panel is the safest route.
Next Steps: Make Your Interior Feel New Again
Start with one door?usually the driver?s door shows the most wear and gives you the biggest payoff. Order the correct clips ahead of time, use a heat-rated adhesive, and take photos as you disassemble so reassembly is straightforward. If you want an even bigger improvement, combine your door panel refresh with sound deadening and a moisture barrier reseal for a quieter, tighter-feeling cabin.
For more DIY interior fixes, material guides, and step-by-step tutorials, explore the latest articles on carinteriormix.com.